Fabulous fall craft
The season for bonfires, scary movies, and cider mill trips is here. Say hello to fall. The days get shorter and the nights grow longer, and everyone seems to have an ‘easy flow’. However, fall also brings about dragging days that leave people longing for the summer months to return. On the next lazy autumn day, instead of complaining about boredom, do a fun and easy craft.
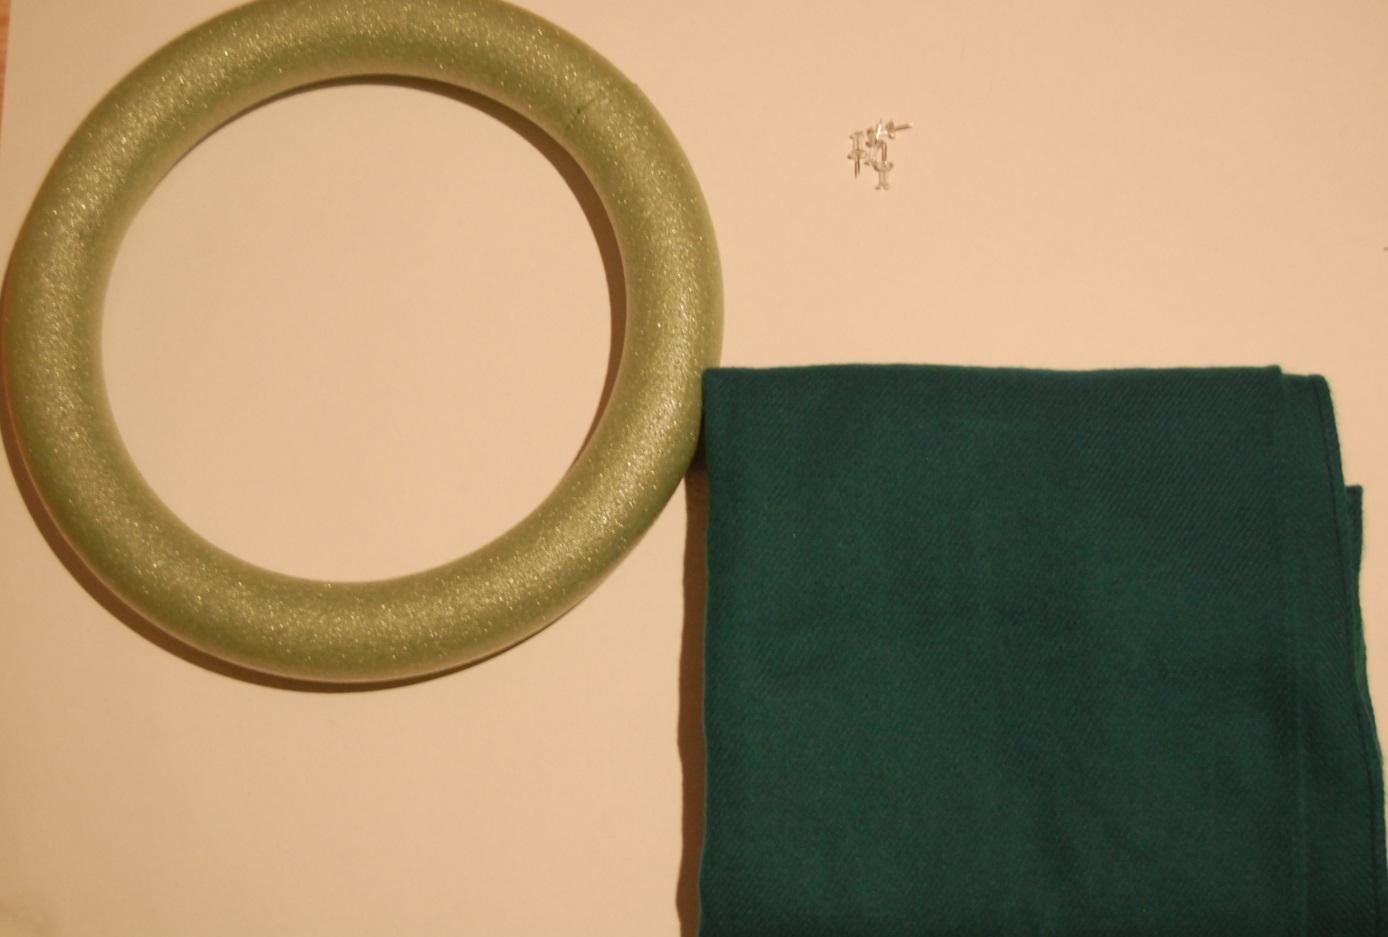
This simple project makes a great gift or decoration. It’s a common fall and winter fixture which adds spruce to any door. It’s a wreath! Wreaths vary in size, theme, and price. Making your own can be affordable,fun, and entertaining. Materials needed are: a styrofoam wreath base, a medium sized scarf, thumbtacks or straight pins, and an optional strip of material. The base can be purchased for under $10 at a craft store.
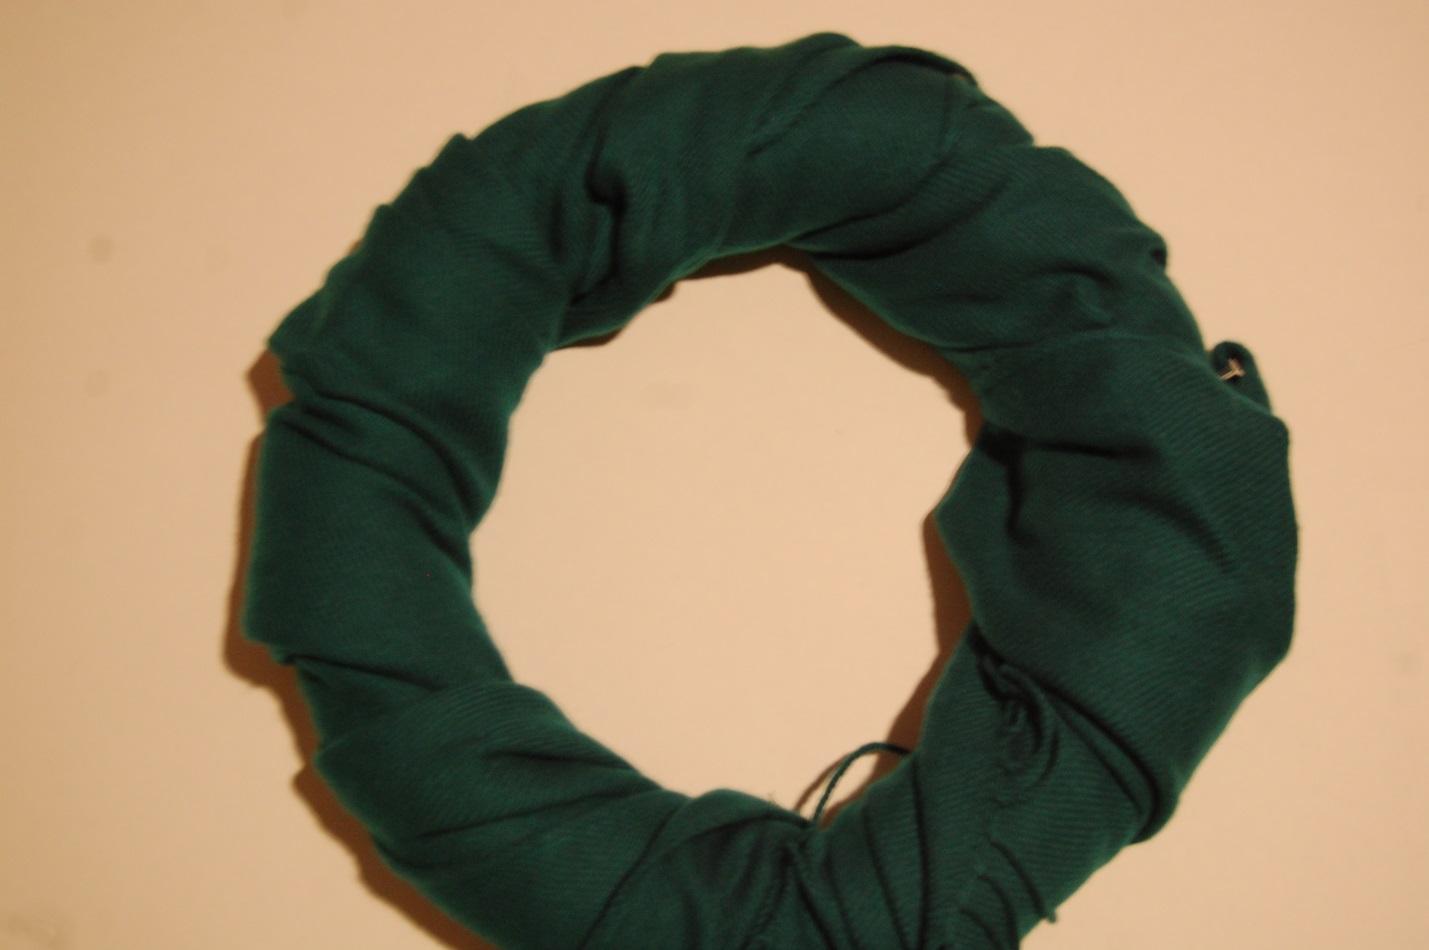
First, start at the top of the wreath base. Using the thumbtack or pin secure a piece of the scarf to the base. Then, wrap the scarf clockwise around the base. Add pins to spaces that seem loose. To make the wreath appear full, stretch the scarf out with your hands. When you reach the top of the base, use another tack to stick the end of the scarf to the styrofoam base.
To add some pizzazz, use an additional scarf with a different color and pattern, or use a strip of material to make a bow. Wrap the material around the top of the wreath where the two tacks meets, and tie it. Then, using another tack or pin, cross the sides over one another. Finally, hang your crafty, homemade wreath on a door, wall, or give it as a gift!